
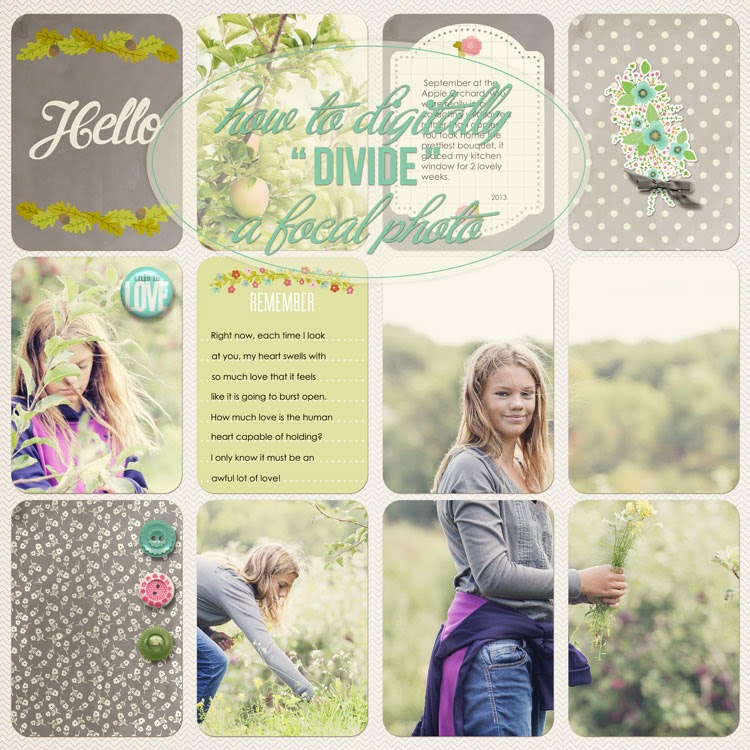
Hello. A reader left a comment asking how I digitally "divided" my focal photo into 4 different pockets on my Project Life page. Maybe some of you new to working with project life templates and/or digital scrapbooking are wondering how to do this as well.
product credits:
little details:
Creashens | Hello Flairs, Fling Elements (floral bouquet), Krafternoon Delight Elements (bow)
The Ardent Sparrow | Brand New Boy and Girl Kits (buttons)
It's super easy!
I am using Photoshop CC, but it's basically the same method in Photoshop Elements.
So you start with a template. The template I am using is Digital Project Life Template U. (link above)

Here I have the template opened in Photoshop and I've added the photo I want "divided" into 4 pockets. I've sized it and placed it exactly where I want it. In the Layers Palette, the photo is placed above the pockets that it will be "divided" into.

Now, since I know I want this photo to appear in four pockets, I simply duplicate the file 3x (so I have four copies total). Command J (on a Mac) or Control J (on a PC) is the easiest way to duplicate the layers. You can also go up to EDIT and choose Duplicate (3x).
NOTE: It is important that the photo copies all stay exactly where they are on the page. Do not move or shift them. You'll see why in a minute.

Now (see below) ... without moving the photos at all on the page ... you are going to drag (IN THE LAYERS PALETTE) each photo copy above each pocket that the photo needs to appear in. So each photo layer sits on top of each pocket layer.

Here (below), you can see my 4 photo copies all nicely placed above the four pockets they will ultimately show in.

Now, move your cursor onto the space (IN THE LAYERS PALETTE) between the photo and the pocket. Click while holding down the ALT(on a MAC)/OPTION(on a PC) key. Your cursor will change into a bent arrow with a rectangle. The photo is now "clipped" to the pocket layer.

Once the photo is "clipped" to the pocket you will see your photo layer indented in your Layers Palette with a bent arrow.

Do this "ALT/OPTION click" to each of the other Photo copies. See my little black arrows below. I have 4 photos "clipped" to the pockets below them.
NOTE: Make sure the photo lies on top of the pocket it should appear in!

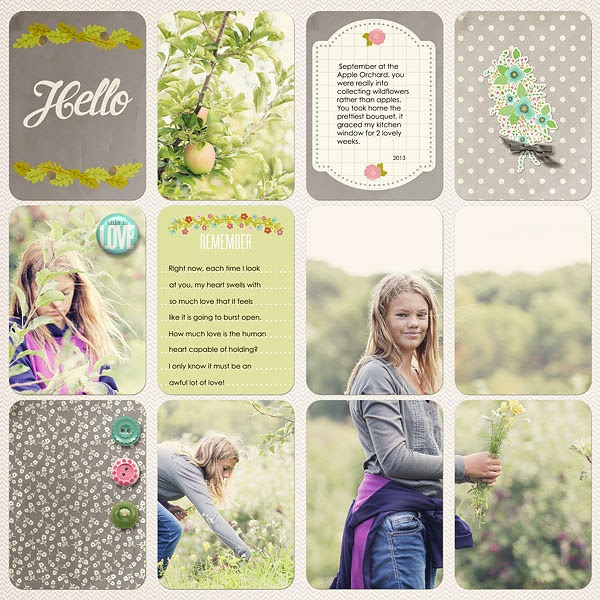
And that's it! The photo is digitally "divided" into 4 pockets. Now go finish your awesome PL page!
SOME TIPS and HELPFUL HINTS:

If you need to move the image around ... say a face ended up in the space between the pockets (like the example above) ...
in your Layers Palette, click all four photos at once. To do this, you click one photo and then Command click (on a MAC) or Control click (on a PC) to select the other three photos.

You can also re-size the photos by click/dragging any of the corners. If in Photoshop, make sure to hold down SHIFT to constrain the photo dimensions. I believe Photoshop Elements does this automatically.

It's a good idea to Lock your four photo layers together. This makes sure they all move together and that one does not accidently get shifted around. See below ... just click the Link Layers Icon at the bottom of your Layers Palette (while you have all your photo layers selected).

Once locked, each layer will have a little Chain Link Icon next to it. If you do not want them locked, simply click the Link Layers Button again to remove this feature.

That's it. I hope you give this a try. It's such a fun way to make one really great photo pop on your PL pages! Feel free to leave a comment linking me up to any page you create using this technique! I'd love to see your work! :)
xoxo- jenn
9 comments:
Thanks so much for sharing this. Just a nice, clear tutorial. I've always wondered how to do that. Cheers!
You are very welcome Melissa. :)
Awesome tutorial, thanks so much for sharing it!
Thank you for sharing! Regards from spain
Jodi & Crisitna, you are welcome & thank you for stopping by!
Thanks so much for this wonderful tutorial. I have just one question? I would like to print these layers off separately to include in my physical album. Is there any way to do this?? patnbobcuddy at gmail dot com
What a very informative and detailed guide! I love how you made it seem so easy to follow. The results are just amazing. Thank you for sharing this and inspiring me to think of tons of other design ideas. Cheers!
Lisa Thompson @ Controlled Color
Great tutorial, thanks so much for sharing !
Post a Comment